Create clear, reusable visuals and short videos that help LMRT learners grasp essentials like X-ray production, radiation safety, positioning, and imaging systems. The tools below emphasize fast setup, captions/transcripts, and sharing to your LMS. Mix and match: use one for quick graphics, another for captioned screen recordings, and another for interactive images or 360° views.
Check out these multimedia tools that work with you to create engaging learning experiences.
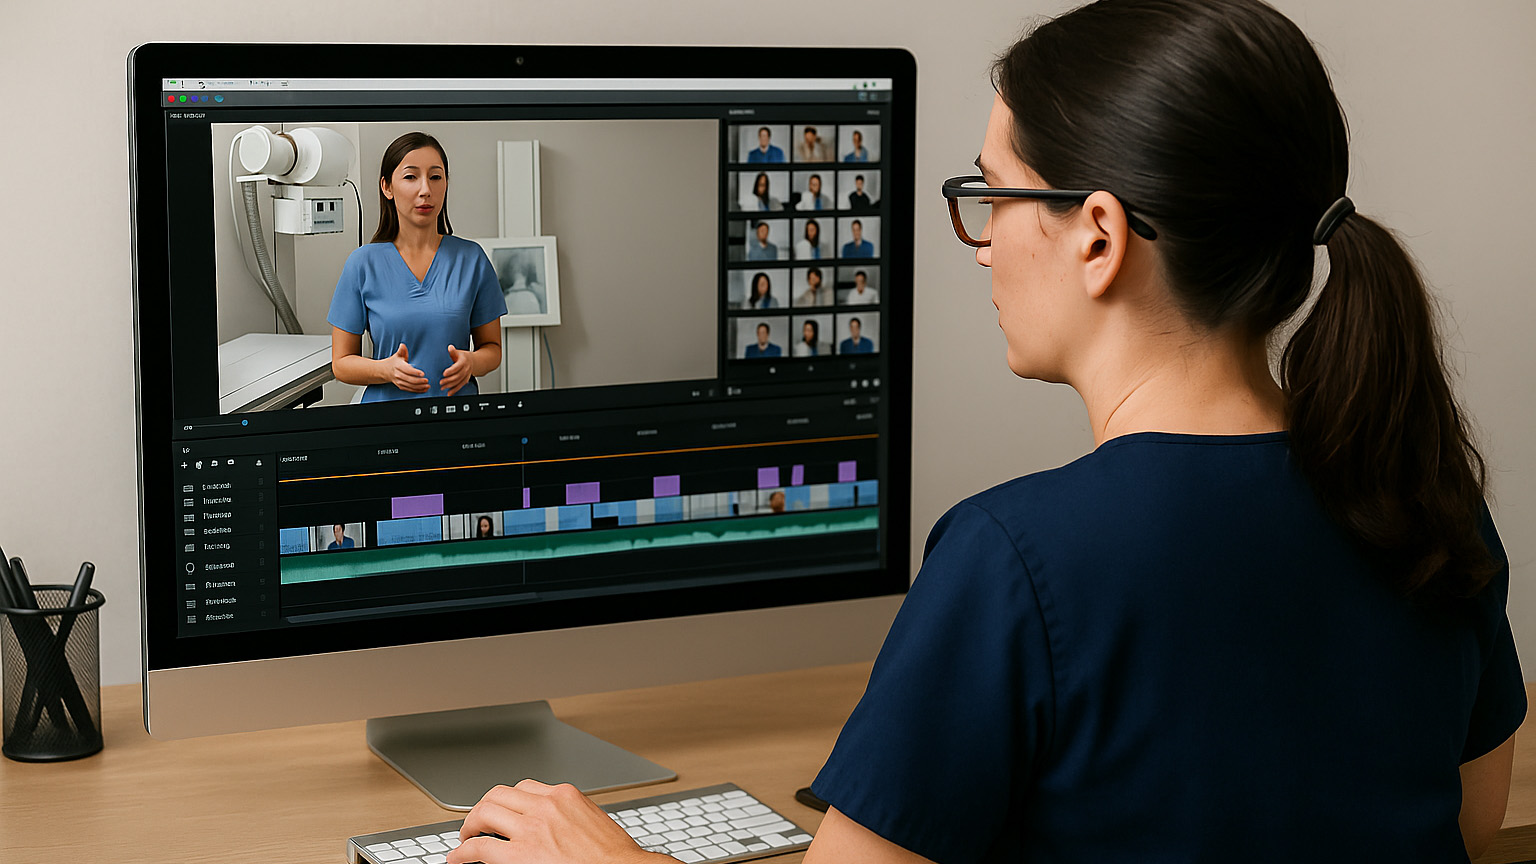
Descript — Edit video by editing text (with captions)
Website: Descript
What it is & why it’s useful
Descript lets you edit video and audio by editing the transcript—delete words in text and the corresponding video/audio edits automatically. It’s great for polishing 2–5 minute micro-lectures, exposure-math walk-throughs, or quick corrections without re-recording entire clips. Built-in transcription and subtitle tools make accessible, captioned videos straightforward; you can export MP4 with captions or separate caption files. Recent feature sets and pricing tiers include a free option and paid plans for heavier usage; check the current limits before committing large libraries. For LMRT, record a short positioning demo, remove filler words, add on-screen labels, and render a captioned video for Canvas. Trade-offs: advanced AI features and large export volumes are on paid tiers; keep your project library organized to avoid storage bloat.
Learn it fast (tutorials/videos):
Descript Learn – Getting Started (articles + videos).
Canva — Rapid graphics & short video with templates
Website: Canva
What it is & why it’s useful
Canva’s drag-and-drop templates help you produce clean diagrams, study cards, infographics, and short explainer videos—ideal for labeling tube components, the image chain, or radiation-safety checklists. Educators and eligible schools can access Canva for Education, which offers many Canva Pro features at no cost. To verify eligibility and set up teacher/student accounts, please follow the instructions. You’ll find classroom-oriented templates, brand kits, and easy MP4/PNG export for LMS uploads. Strengths include speed, an enormous asset library, and collaborative editing; keep designs high-contrast and straightforward for readability. For LMRT, create a three-card set—X-ray Production, Positioning, Radiation Safety—then export as PNG for quick study decks. Watch-outs: confirm asset licensing for public sharing and keep motion effects minimal to avoid distraction.
Learn it fast (tutorials/videos):
Canva Education and Canva Design School (free lessons)
Kapwing — Browser-based video editor with auto-subtitles
Website: Kapwing
What it is & why it’s useful
Kapwing runs entirely in the browser and is excellent for trimming, resizing, and captioning short clips without installing software. Its AI Subtitle tool can auto-generate captions, which you can edit and export as SRT/VTT or burn into MP4 for LMS upload. The free tier is useful for quick tests; paid plans increase limits and unlock higher volumes of auto-captions, translations, and longer exports—handy for a full week’s worth of micro-lectures. In LMRT, clip a positioning demo to under three minutes, add captions, and export a 720p MP4 for Canvas. Advantages: fast start, simple interface, good subtitle workflow. Trade-offs: long, complex projects are better suited to full desktop editors; always remove any identifying clinical details before uploading.
Learn it fast (tutorials/videos):
Kapwing tutorials hub, and how to add subtitles.
- Kapwing tutorials hub (how to find tutorials and help)
- How to add subtitles
ThingLink — Interactive images, video, and 360° for immersive study
Website: Thinglink
What it is & why it’s useful
ThingLink lets you build interactive images and videos with clickable hotspots—great for labeling positioning diagrams, equipment panels, or creating virtual room walk-throughs. It also supports 360°/XR content so learners can pan around a simulated environment and explore safety or workflow sequences. Education plans and trials are available for K–12 and higher ed; institutions can license broader access when rolling out at scale. Use it to create an interactive image chain: each hotspot opens a short explanation or safety note, with links to practice questions. Pros: highly engaging, easy web embeds, and analytics on viewer engagement. Cons: full-feature licensing is institution-level for many setups; plan ahead for hosting and account provisioning.
Learn it fast (tutorials/videos):
Thinglink Education overview and their Pricing/Plans FAQ (what’s in teacher trials & edu tiers)